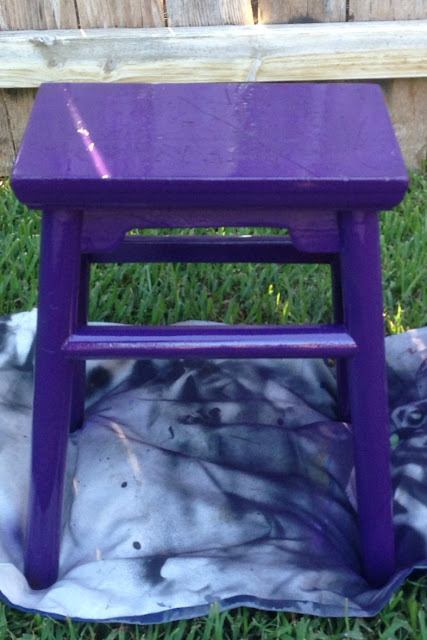
Materials:
- Shelf, regardless of age, color, height, ect
- 2 colors of spray paint
- Lace ribbon
Time:
- 10 minute prep
- 5 minute spray
- 30 minute dry
- 5 minute prep
- 5 minute spray
- 30+ minute dry
Difficulty:
- Moderate
Silly me, I forgot to take a before picture. Well, this shelf wasn't in bad condition really. It's about 10 years old, so its brown wood had faded, being under a window it was sun bleached a bit. It had a few scratches, but besides dullness, it wasn't trash. I'm redoing my multipurpose room right now (click to see my plans!), and splashing bright colors and floral patterns around. I ADORE lace, floral, vintage, all of that! So this was perfect, and I was so excited when I thought it up.
So, step one:
Take the shelf outside and put it on a window curtain panel (err, well, anyway spray paintable area). Do a quick spray of the minor color paint, on the back panel and the two side panels. Here's an example, however I painted the top coat first, but I suggest doing it the other way.
So, paint the panels real quickly from top to bottom.
Step two:
Then, after it dries, cut lace ribbon (mine is from Walmart) and painter's tape it to the top and bottom. Then, every few inches, use a small tear of painter's tape to hold it down.
Step three:
Then, with the major color, spray paint the other panels, shelves, and just everything! Make sure you paint over the lace straightly, not at an angle, or it will seep through the lace.
Step Four:
Remove and fall in love.


