Showing posts with label lace. Show all posts

Tuesday, June 25, 2013

Lace American Flag on Canvas


Materials:

  1. Lace ribbon
  2. Doily
  3. Navy and red spray paint
  4. White canvas
  5. Painters tape

Time:

  • 15 minutes

Difficulty:

  • Moderate (taping is tricky)

Step One

  • Use the ribbon as stripes
  • String across 6 of them for the white stripes
  • Spray over them with red paint AFTER covering a square in the top left with paper and tape

Step Two

  • After dry, cover all with pieces of paper except upset left square
  • Center doily and coats with navy paint

StepThree

  • Fall in love


Monday, June 10, 2013

Altered Books: The Basics

Hi there!

To be honest, I've never altered a book before, but I've seen them and have done extensive research, so let's learn together!


Suggested Supplies:

  • Wax paper
  • Saran Wrap
  • Sponge brushes
  • Used credit cards
  • Acrylic paint
  • Pages from dictionary, phone books, old journals (you can find these bits online, make them on Microsoft Word or Picmonkey and then print them off)
  • Pop-Out stickers and Die Cutouts
  • Random junk items
  • Pointed object to scratch with, like a toothpick, cuticle cleaner, and so on
  • Something solid to cut on, like a cutting board, self healing cutting mat, or cardboard
  • Something heavy to press down certain items and make them flatter
  • Paint brushes
  • Used hotel cards
  • Spray paint (optional)

Suggested Paper Scraps:

  • Newspaper and magazine cutouts 
  • Junk mail
  • bills (some formal sentences in the bill are nice, like "sincerely")


Suggested Scraps:

  • Beads
  • Buttons
  • Crayons, markers, colored pencils, gel pens
  • Calligraphy pens
  • Rubber stamps and ink pads
  • Ribbon and string
  • Tape, probably like Washi tape
  • Die-Cut paper punches
  • Needle and thread
  • Fabric
  • Stickers or die-cuts
  • Tissue paper or (decretive) napkins
  • Paper clips or other page clips, stapler and staples
  • Brads
  • Clear laminate sheets
  • Stencils
  • Glitter and/or glitter glue
  • Mod podge
  • Hot glue gun
  • Elmer's bottled glue
  • Rubber cement
  • Glue sticks

Tips and Tricks:

  • Glue two pages together for a thicker page
  • Don't buy anything new for it. It's fun to use preexisting items and neat household finds!!!

I have just sprayed two pages in my book (I'm using the Twilight Saga Eclipse, haha) gold using gold metallic from Krylon. I'm also spray painting the outer cover soft green (Rust-Oleum's "Green Apple"). Let's see where I'll go from there!!


Favorite altered books:


Monday, June 3, 2013

Reclaim an Old Shelf with Paint and Lace

Let's cuten-up a trashed book shelf!

Materials:

  • Shelf, regardless of age, color, height, ect
  • 2 colors of spray paint
  • Lace ribbon


Time:

  • 10 minute prep
  • 5 minute spray
  • 30 minute dry
  • 5 minute prep
  • 5 minute spray
  • 30+ minute dry

Difficulty:

  • Moderate


Silly me, I forgot to take a before picture. Well, this shelf wasn't in bad condition really. It's about 10 years old, so its brown wood had faded, being under a window it was sun bleached a bit. It had a few scratches, but besides dullness, it wasn't trash. I'm redoing my multipurpose room right now (click to see my plans!), and splashing bright colors and floral patterns around. I ADORE lace, floral, vintage, all of that! So this was perfect, and I was so excited when I thought it up.

So, step one:

Take the shelf outside and put it on a window curtain panel (err, well, anyway spray paintable area). Do a quick spray of the minor color paint, on the back panel and the two side panels. Here's an example, however I painted the top coat first, but I suggest doing it the other way.

So, paint the panels real quickly from top to bottom.


Step two:

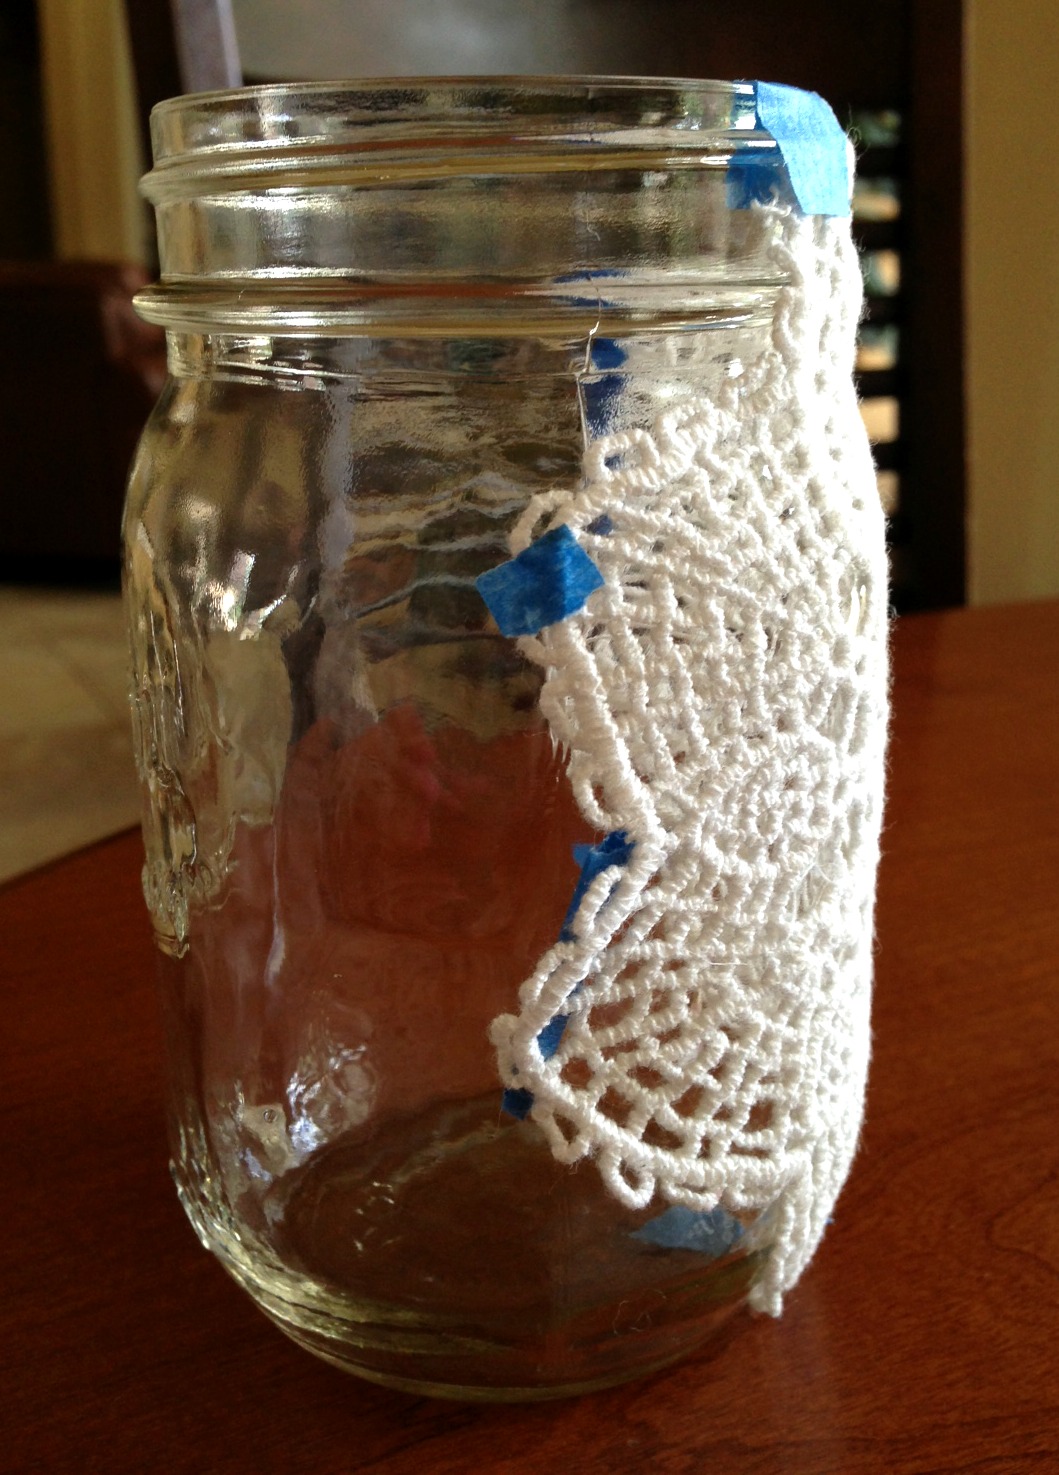
Then, after it dries, cut lace ribbon (mine is from Walmart) and painter's tape it to the top and bottom. Then, every few inches, use a small tear of painter's tape to hold it down.


Step three:

Then, with the major color, spray paint the other panels, shelves, and just everything! Make sure you paint over the lace straightly, not at an angle, or it will seep through the lace.


Step Four:

Remove and fall in love.


Upcycling a Destroyed Bench into a Masterpiece


My older brother and his skater boy band members etched and destroyed a cheap stool we had for the piano. I believe we bought it on clearance at Target or Pier One. Here it is!


I took it to the backyard and placed it on a curtain panel (which I use to protect the grass!) and gave it a good coat of Rust-Oleum mid-deep purple.


I didn't over-coat the seat of the stool however, and I'll show you why soon! 
Make sure you get close and inside any cuts, scratches, or inscriptions. See? Making sure it's purple inside makes a HUGE difference.

Now we're getting to the fun part!!

Step One

•Choose a fabric and cut it so that it completely covers the seat and the sides of the seats 


Step Two

•Mod Podge over the seat 
•Place fabric evenly
•Do not Mod Podge ON TOP of the fabric


Step Three

•Mod Podge the sides of the seat by covering the wood with Mod Podge, pressing the fabric down, and Mod Podging over the fabric
•Fold the corners to the left to create an arrow shape
•Mod Podge them down as well


Ta-Daaaa!

Hope you enjoyed and love it!!
- Megan

PS Be super lovely and click the Pin It! button on the top right of the sidebar to the right to share with your friends!!

Sunday, June 2, 2013

Lace Patterned Mason Jars, Half Clear


Materials
  • Mason Jar (or any glass jar!) 
  • Lace doily or ribbon (I use a doily) 
  • Spray paint (1 or 2 colors) 
  • Painter's tape
Time
  • 5 minutes to tape 
  • 5 minutes to spray paint 
  • 30 or so minutes to dry 
  • *optional second coat adding about 40 minutes 

Difficulty
  • Easy 

Step One

  • Place lace on the jar with small bits of painter's tape (if a mason jar, opposite side of the words) 
  • Make sure the tape is on the lace and not a hole in the lace, because it will alter the stencil 


If you want to use two colors, apply doily AFTER spraying painting front of jar another color


Step Two

  • Spray paint away! 


Note:

After spray painting base, (step one), let it dry, place doily, and spray paint entire jar.


Step Three


  • Remove tape and lace Doily


Step Four

  • Situate and enjoy! 


(Add clear stones to the bottom to raise pens and pencils if the jar is too shallow)


Two colors:


  • this jar was left outside during wind, which weathered it, but here is an example of the bicolored jar!


Hope you LOVED it!!!


- Megan